

The journey of a thousand miles begins with a single step.
— Lao Tzu
Starting down the path to a more organized life can feel overwhelming, confusing, or even impossible. I promise you, it is possible and a great way to regain balance in your life!
To help you get off to a good start, I have created this handy beginner’s guide of ten simple steps to organizing your home. It is by no means the only way to organize, declutter and simplify, but it works for me. I personally feel that when my home is in balance, my life is in balance.
As an Amazon Associate, I earn from qualifying purchases, which costs you nothing. Please read the Disclaimer for more information.
Before you read on, here’s the perfect home organization infographic for you to pin and save these steps for future reference!
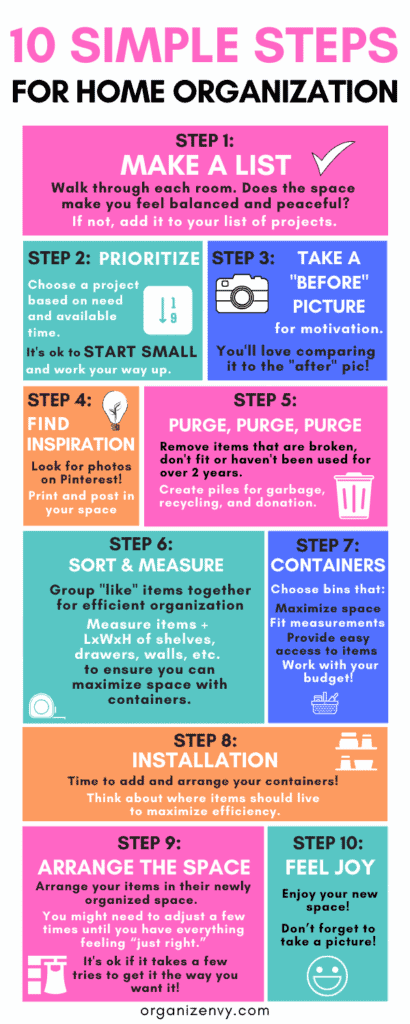
Organizing Your Home in 10 Steps
Step 1: Make a List of Projects
I always keep a list of rooms or areas I want to organize (because I always have more than one). It can be helpful to walk through each room of your house (don’t forget the garage, attic, basement, shed, etc.), opening cupboards and drawers, pantries and closets.
Survey the area and ask yourself: Does this area make me feel peaceful and balanced? If not, add it to the list of projects. If yes, give yourself a little congratulatory pat on the back and move on.
Step 2: Prioritize Your Organizing List
Once you’ve made your list, you may look at it and begin to feel overwhelmed or paralyzed. Don’t stress! Don’t set an unreasonable deadline to finish organizing your home.
I recommend looking over your list and prioritizing. Consider which areas are really causing the most headaches (pantries, kitchens, closets and bathrooms are big ones) and pick one that you feel motivated to tackle first.
Also consider the financial impact your project will have. Will you need to purchase a lot of containers, sorters, shelving, etc.?
It’s fine (and possibly preferable) to start small. A great beginner’s project might be the area beneath the kitchen sink or the refrigerator. Starting small allows you to get in the flow of organizing and bask in the success of a completed project. Then, with your newfound confidence, move to something larger.
Step 3: Take a “Before” Picture
Take a picture now, before you’ve begun to organize. It will really feel good to compare this image to your final decluttered and simplified space, trust me!
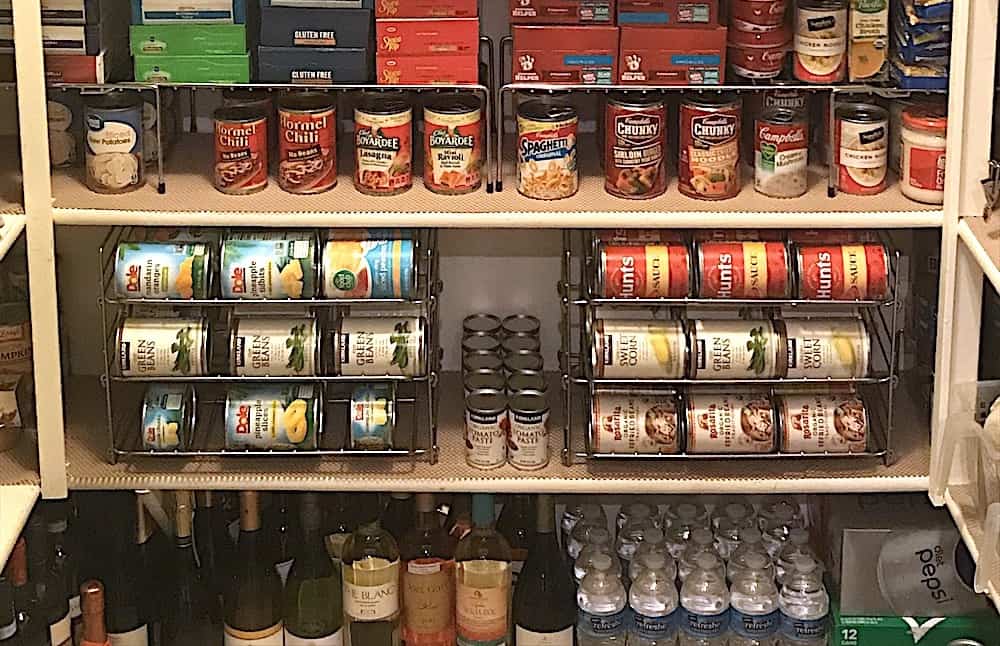
Here’s a “before” picture from my post How To Organize a Walk-In Pantry In a Weekend:
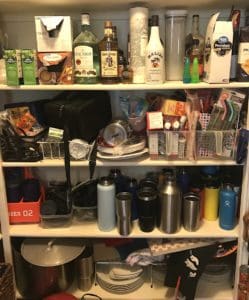
Yeesh! Right?! But when I look at the “after” picture, I feel a tremendous sense of accomplishment. You will, too! For more before/after inspiration, check out this quick video of projects I’ve completed:
Step 4: Find Inspiration for Your Project
When organizing your home, it’s immensely helpful to have inspiration and a vision of what you hope to achieve. Pinterest is a great place to do this. I’ve collected inspiration and how-to pins for organizing virtually every room of the house on my Pinterest boards.
Once you’ve found the perfect image for your project, print it out and post it somewhere in or near the area you plan to organize. This will both guide and motivate you!
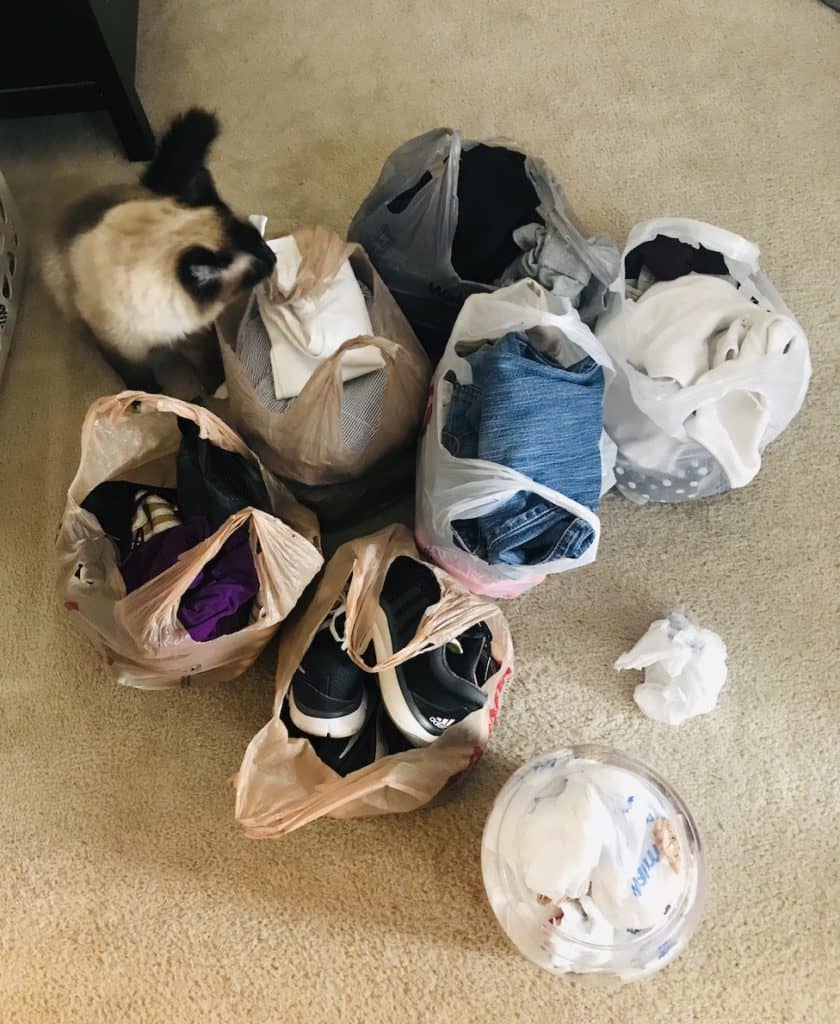
Step 5: Declutter and Purge, Purge, Purge
This step can be the most challenging, but it’s also the most cathartic if you keep reminding yourself of your desired goal. Before you set about actually organizing, it’s imperative that you go through and remove items that:
- Are expired, broken, unused for over a year, or don’t fit (clothes, shoes, etc.). Create piles for garbage, recycling, and donation.
- Don’t belong in the area you’re organizing. These should be redistributed to a suitable location.
The reason purging is so important is it will save both time and money. Why waste time and spend extra to organize unnecessary and unneeded stuff?
Want more tips on how to declutter? Check out my Complete Declutter Checklist (with printable)!
Step 6: Sort & Measure Your Space
Once you’ve purged all of the unnecessary items from the area you’re organizing, you can then sort and group the remaining items into groups with similar items, i.e. all of the canned soup goes in one pile, the cereal boxes in another, the condiments and dressings in a third, and so on.
Next, take measurements of the area you’re organizing. Jot down length and height of walls as well as width, depth and height of shelves, drawers, cabinets, countertops, etc.
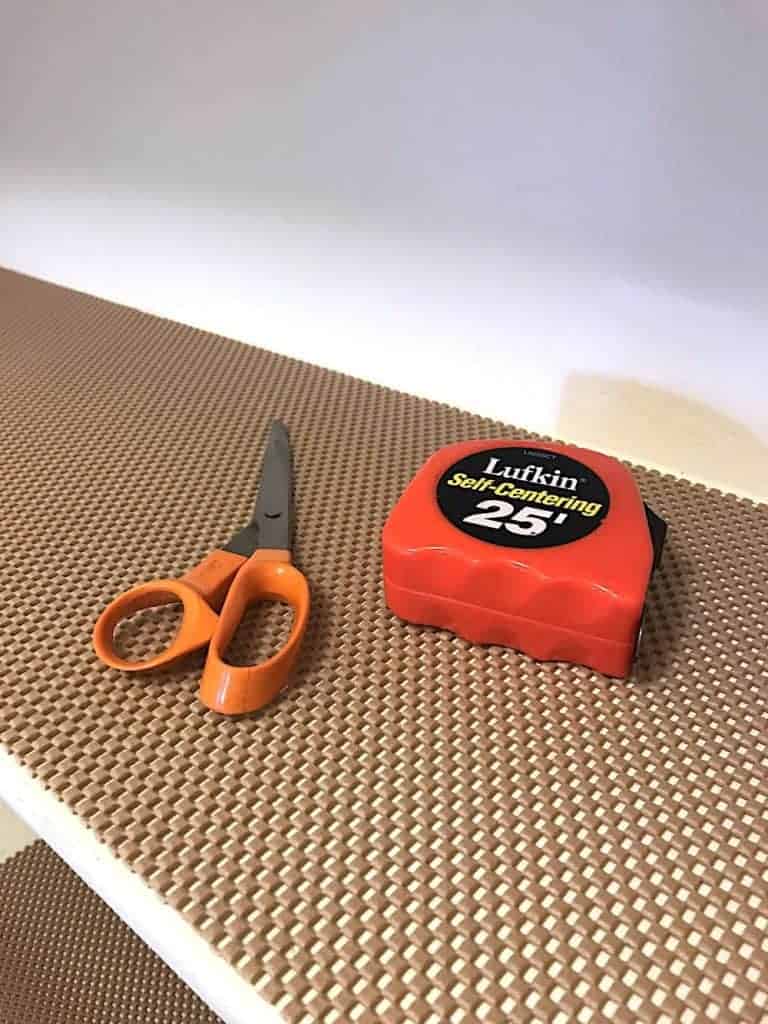
It can also be helpful to take measurements of at least some of the items you will contain in the area, to help you make decisions on the organizing solutions you’ll use. It never hurts to take a few photos of the space and the items, too!
Step 7: Choose Your Organizing Solutions
For me, this is the fun part! Using your inspiration image as a guide, determine which containers, sorters, racks, trays and other organization tools you’ll need for your area. This is where the measurements you took in Step 5 are crucial.
You’ll want to choose solutions that maximize space, fit with your measurements, and provide as much access to your items as possible. Pay close attention to your budget; if items in your inspiration image are too expensive, look for less pricey alternatives.
My Pinterest boards and articles are full of inexpensive organization hacks using products purchased from Target, Walmart, Amazon and IKEA.
Step 8: Install Items
This step can either be a snap or take a bit of time, depending on how extensive your project is. If you’ve purchased cabinets or shelving units that require assembly, plan your time accordingly.
Assemble all of the tools you’ll need, including drills, screwdrivers, a level, and tape measure. Use your inspiration image to help you configure containers, sorters, racks and trays.
Step 9: Arrange (and Rearrange) Your Space
After your organizational containers are in place, arrange your items in their newly organized space! You might need to adjust and play around with different configurations a few times until you have everything feeling “just right.” This rearrangement period might last a few days as you and the members of your household get used to the new space; no worries!
Step 10: Bask in the Joy You’ve Created
This may seem unnecessary, but to me it’s HUGELY important to take a few moments to take in your newly organized space. Feel the balance, the efficiency, and the simplicity. Feel joy in your accomplishment, and take this joy with you to your next project. And don’t forget to take a picture to share with and inspire others!
Organizing Your Home: Great Projects For Beginners
I always advise beginners to start with a small organizing project first. You don’t need to tackle the garage or a huge walk-in pantry right off the bat.
Here’s a list of simple projects I’ve completed in my home (with step-by-step instructions) that you can try:
- How to Organize Vitamins, Supplements and Medicines in 4 Steps
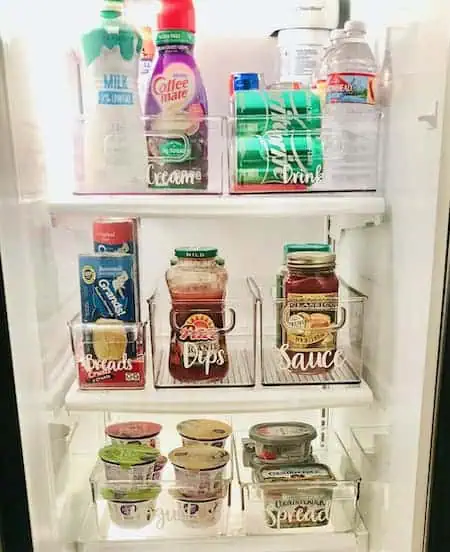
- 5 Steps to Organize a Side-by-Side Refrigerator
- How to Organize Your Stand-Up Freezer Like a Boss
- Simple Ways to Organize Kitchen Drawers for Maximum Efficiency
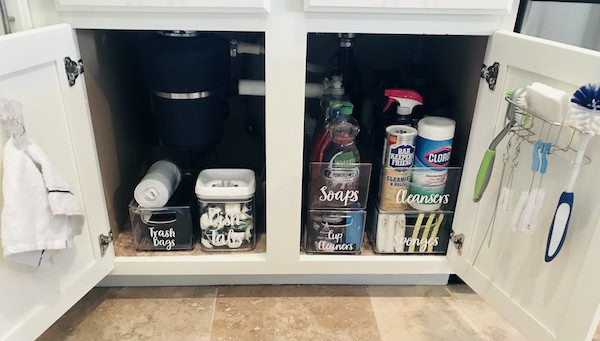
- The EASIEST Way to Organize Under Your Kitchen Sink
- Organize Cables and Chargers in a Cutlery Tray
- Easy Office Cabinet Organizing Hack: Photo Storage Boxes
More Home Organizing Tips for Beginners
- Why Zones are the Best Way to Organize Your Home
- 5 Ways Being Organized Saves Time and Money
- The Biggest Organizing Mistakes People Make
- Organization Hacks That Save Money
I wish you much luck on your journey! Happy organizing!
Pingback: DIY Weekend Pantry Makeover with Tips and Tricks! • Organizenvy
Pingback: Easy Closet Organizing Tips for Beginners • Organizenvy
Pingback: 20 Great Organizing Products on Amazon (and ideas on how to use them!)
Right now I am doing the purge, purge, purge. If I don’t use it, then it has to go!
Yes! I recently forced myself to donate clothes I hadn’t worn in 2 years or more. Some things still had tags on them! I will not be buying new clothes unless I absolutely love them (and they fit perfectly) anymore. 🙂
Pingback: Clever Bathroom Storage Ideas You'll Love • Organizenvy
What a great guide. Those step-by-step items really do help take the “overwhelm” down a notch. Thank you.