

Moving to a new home is exciting, maybe a little scary, and typically kinda stressful. I’ve always felt the level of stress increases proportionately with the number of people, pets, things and distance involved.
I have moved over a dozen times as an adult (and helped a number of friends move, too). The good news is I’ve collected some great tips to get organized for a stress-free move over the years. I’m confident they’ll help you with your upcoming adventure. Read on and prepare for your fresh start!
If you’d like to save these tips for later, simply enter your info below. I’ll send them straight to your inbox!
Have tips emailed:
This post contains affiliate links. As an Amazon Affiliate, I earn a small commission from qualified purchases at absolutely no cost to you. Please see the Disclaimer for more information.
1. Declutter First – Before You Pack for the Big Move!
I can’t stress this enough. To get organized for a move, the first step in the moving process is to declutter—well before the big day. Before you even pack a box, in fact.
Why? I’ve got three great reasons:
- Decluttering first saves you the effort of packing things you don’t use or want.
- You will have less to unpack in the new place.
- You’ll save money! (Less “things” require fewer boxes and packing materials and a smaller moving truck or trailer.)
Here are some helpful ideas for pre-move decluttering process:
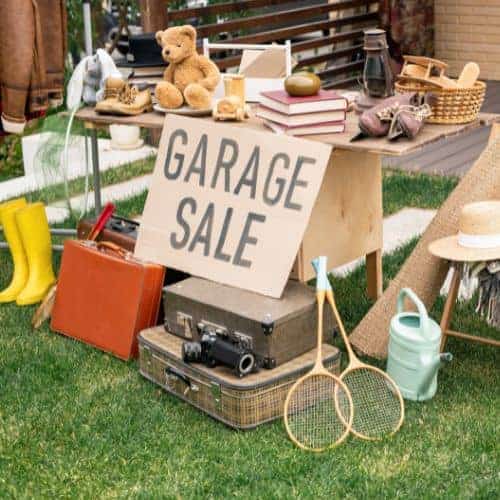
Have a Garage Sale
Got lots of stuff to get rid of? Go with a garage sale, which will both help you declutter AND put a few bucks in your pocket to cover moving expenses. 2-for-1! Give yourself enough time to plan and hold your sale at least a few weeks before your move.
Don’t forget to advertise. Post your sale details on sites like Craigslist, Gsalr.com, eBay and yardsales.com. Announce it to friends and family on social media. You can also take out an ad in your local paper.
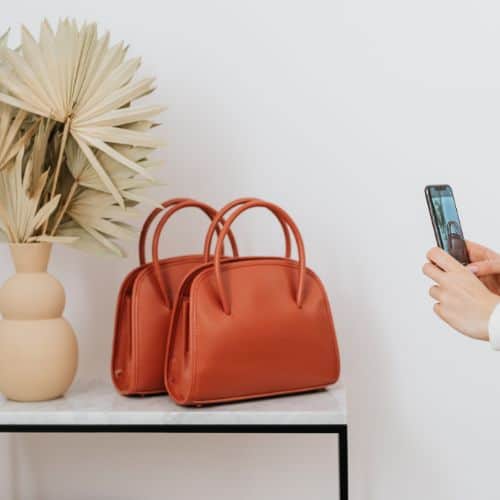
Sell Items Online
Not enough items for a yard sale? Bad time of year weather-wise? You can also sell unwanted items online through Craigslist, eBay and Facebook marketplace. Clothes, shoes and accessories can be sold through sites like Poshmark and ThredUP.
Donate to Local Charities
Take the items that didn’t sell online or at the yard sale and donate them to local charities. Shelters are always in need of gently used clothing, especially for kids. Your library will gladly take a donation of books.
Charities like the Salvation Army will pick up large pieces of furniture from your driveway for free in some areas—click here to see if pickup is available where you live.
Don’t need a tax donation? You can also list items for free on online marketplaces and leave them on the curb for people to take.
Rent a Dumpster or Head to Your Nearest Landfill
Anything that’s broken or can’t be donated can now be tossed. You may find you have more items than will fit in your trash can. Consider renting a dumpster! According to Fixr.com, dumpsters can be rented for as little as $75/week depending on size and area. Companies will deliver the dumpster to your home and pick it up for you. Easy, peasy.
My husband and I have also loaded up our SUV with large items and driven to the local landfill. That’s always a fun, smelly way to spend a Saturday.
Struggling with how to declutter? It can be a challenge, I know, but it’s SO important if you want to cut down on chaos when you move. I have some helpful tips on decluttering in this post: The biggest organizing mistakes people make (and how to fix them).
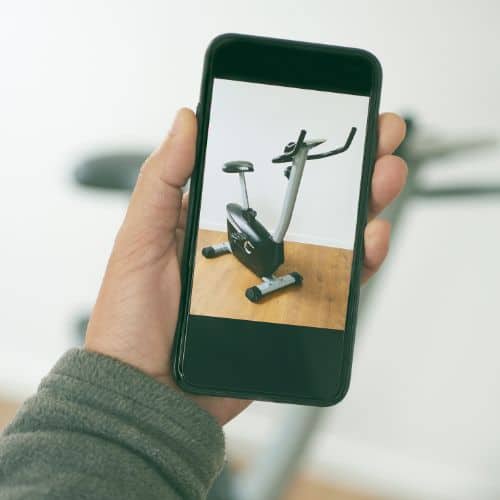
2. Take a Picture of Everything Before and After You Pack
Another reason you’ll be happy you decluttered: your next step is to take a picture of your stuff. (Before and after you pack.) Since you’ve decluttered, this will be less time-consuming.
I have never completed a move without at least one item getting broken, damaged or lost. And a moving company isn’t always going to be up-front with you when they break your things. It’s much easier for you to make an insurance claim when you have proof that your item existed, without damage, before the movers dropped it or left a box behind.
Technically, you don’t have to take a picture of EVERY item you own. Just the items you wouldn’t want to have to pay to replace, like expensive electronics or fragile collectibles. And take a picture showing the total number of boxes for each room to ensure it matches what the movers put on the truck.
3. Keep a “Donate” Box in Each Room as You Pack
You will likely discover more items you don’t want/need at the new house as you pack. It’s a good idea to add one cardboard box or garbage bag to each room just for donations or trash.
When the room is packed up, simply take the donation box to your car. You can make one last trip to a donation center before your move.
4. Use Color-Coded Labels For Each Room
A set of pre-printed, color-coded labels is a lifesaver and a great way to keep everything organized for a move. Check out this handy option from Amazon:

This set comes with 16 rolls in different colors for every room in the house, including one fragile items and one blank roll for miscellaneous rooms/items. 640 labels in total.
Simply assign each room a label, slap that label on every box in the room, and you’ll make your life much easier when the boxes arrive at your new house. You’ll know immediately that the pink boxes go in the guest bedroom, blue ones go in the living room, and so on.
If you hire professional movers, this will help them place your items correctly as well.
5. Label the Contents of Your Cardboard Boxes as You Pack
After you’ve color-coded the boxes for each room, label the items you put in each box as you pack. You can either write directly on the side of the box, or use a pre-printed packing label like this:

You’ll be very happy you have an itemized inventory list of contents when you get to the new house and need to find that one item that’s in one of the 10 boxes delivered to a room (like the TV remote).
6. Pack Items in Zones for Each Room
Another helpful tip to stay organized for a move is packing items in zones or sections of a room.
For instance, put all items from your nightstand in one box. Try not to mix the nightstand items with other bedroom items. Keeping each box to a single zone or area will make unpacking much more efficient for you.
Follow this procedure for all of your rooms: kitchen drawers get a box, the baking cabinet gets a box, the desk drawer gets a box, and so on.
NOTE: You CAN mix more than one zone in a box if it contains a small number of items. Keep the zones to the same room or (ideally) the same section of the same room.
Psst…learn all about zone organizing in this article: Why zones are the best way to organize your home.
7. Use QR Codes to Stay Organized While You Move
Keep a digital record of every item in every box with a set of QR smart labels:

Here’s how the system above works:
Download a free app to your iPhone or Android device. Place a color-coded sticker on your moving box and scan it with your phone, then add the name, location and description of your box and a photo. You can also list each item in the box with a photo.
When your boxes are unloaded at your new house, you can locate any item by searching for it on the app. The app will tell you which box it’s in, the color of the label, and the label ID number.
8. Keep all Screws and Hardware in Labeled Plastic Bags
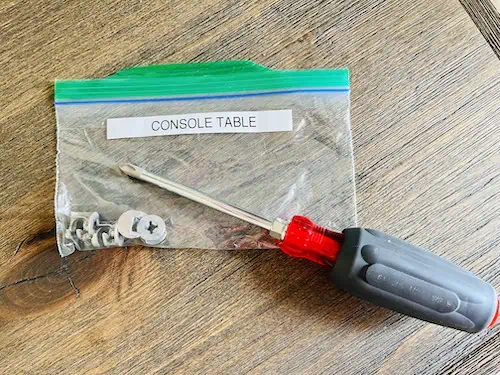
There’s nothing quite as frustrating as discovering you’re missing the hardware to reassemble your desk or TV console…and you have no idea which box it might be in.
One way to save yourself this hassle is by putting all of the hardware into a labeled plastic bag. Either tape the bag to the underside of the furniture it belongs to or put all labeled bags of hardware for a specific room in one box.
You’ll know exactly where to find all of the screws and nuts and bolts when you need them.
9. Label All Cords and Cables (Both Sides!)
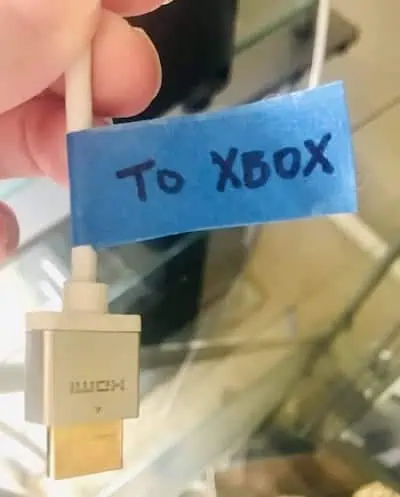
Most people have at least one complicated electronics setup in their house. I believe there are four such situations in mine: a computer/modem/wifi router configuration and three different rooms with TV/streaming box/video game console setups.
Before you yank those cables and stuff everything in a box, take some time to label and write where each end of that specific cable goes. Trust me, you’ll be thankful you did!
Pro Tip: Be as specific as possible. For instance, one side might say “To Xbox” and the other side might say “To TV HDMI 3.”
You can do this very simply with a Sharpie and some masking tape, or you can go big and purchase color-coded cable labels that are laser printer compatible:

RELATED ARTICLE:
20 Cable Storage & Organization Tips to Improve Your Life
10. Pack Least-Used, Unnecessary Items First
Packing up your house could take days or weeks. It depends on the size of your home, how much stuff you have, and how much time you have each day to pack.
A really helpful packing tactic is to start with the items you use least often or will not need immediately in the new house:
- Seasonal items
- Decorations
- Off-season clothing
And so on.
Save daily-use items like the coffee maker, kitchen utensils and TV remotes for last. Same goes for screwdrivers…you’ll need those!
11. Set Aside What Will Travel With You, Not With the Moving Van
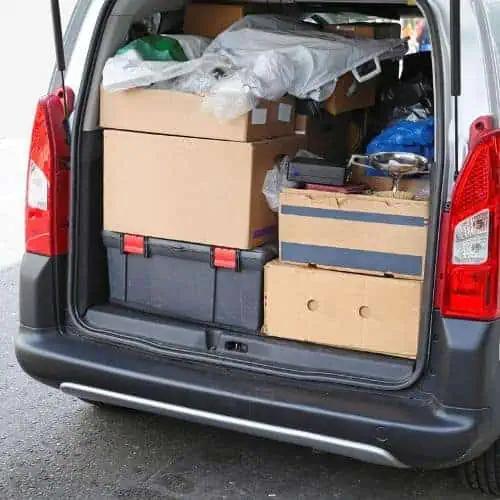
There are items you’ll want traveling with YOU from the old home to the new house, not on the moving van. These include:
- Plants (some can’t cross state lines, so do your research before you hit the road)
- Important documents: passports, birth certificates, insurance policies, etc.
- Valuables like fine jewelry
- Medications
- Immediate pet needs: leashes, crates, food, litter boxes
Put them in separate packing boxes with their own set of colored labels, and set them aside from your other household items.
Just moving across town? If it’s a short trip, you can also bring:
- Aerosols and lighter fluid
- Bleach and ammonia-containing cleaners
- Oils, paints, fuels
- Pesticides and fertilizers
- Explosives like fireworks and firearms
Decide what will go with you and set it all aside in clearly labeled (ideally color-coded) boxes until it’s time to pack your trunk.
12. Don’t Forget Your First Night Necessities on the Day of the Move
It’s common to arrive at your new space a day or two before your moving van. You’ll be much more comfortable if you prepare ahead of time! Pack and bring in your car what you’ll need for at least the first day and night or two:
- Sheets and blankets (and pillows!)
- Towels for each family member
- Toiletries
- Toilet paper
- Clothes and PJs
- Disposable plates, cutlery, cups
- Electronic devices, chargers, cables & portable chargers
13. Have the Utilities Turned On Before You Arrive
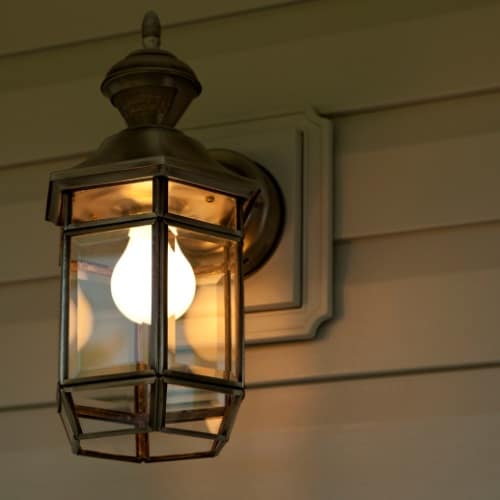
Don’t get caught in the dark! Plan ahead and arrange for all utilities to be turned on a day or two before you arrive. This will ensure you’ve got electricity, cable, gas and water when you need them, even if you arrive earlier than planned.
It’s also helpful to keep utilities on at the old house for a day or two after you leave, just in case you need to go back and clean or repair something.
14. Do One Last Check For Forgotten Items
Before you lock up and leave, do a final walkthrough to make sure you haven’t forgotten anything.
- Check behind every door
- Open every cabinet and drawer
- Check the dishwasher, washing machine and dryer
- Check crawl spaces, basements, attics
- Examine all built-in shelves
- Inspect sheds and garage spaces
- Look in the yard for stray toys & tools
Getting Organized For a Successful Move: Final Thoughts
I hope you’ve found some inspiration and motivation for getting and staying organized during your move! Take deep breaths and remember that as long as you and your family get to the new house, everything else will fall into place one way or another.
Happy organizing!

RELATED ARTICLES:
Clean & Organize Your Glove Box in 3 Steps
Beginner’s Guide to Organizing Your Home
45 Ways to Organize Your Car That Will Captivate
How to Declutter Your Garage Now
Last update on 2026-06-03 / Affiliate links / Images from Amazon Product Advertising API